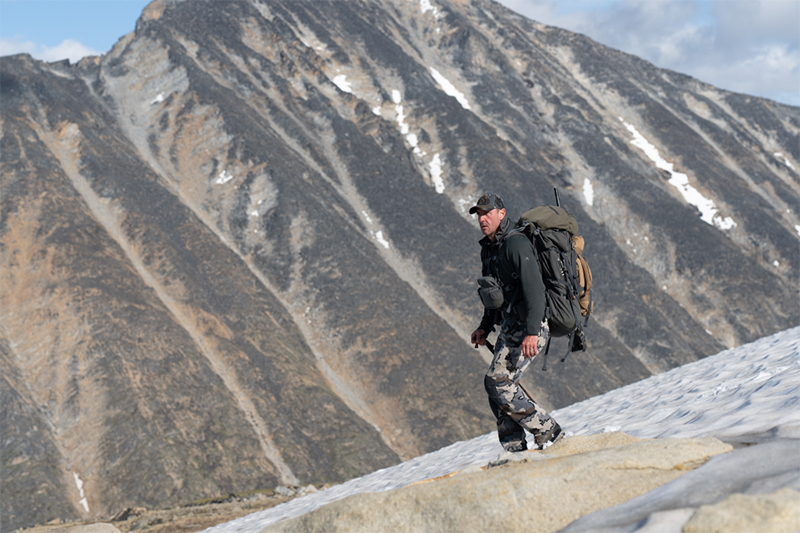
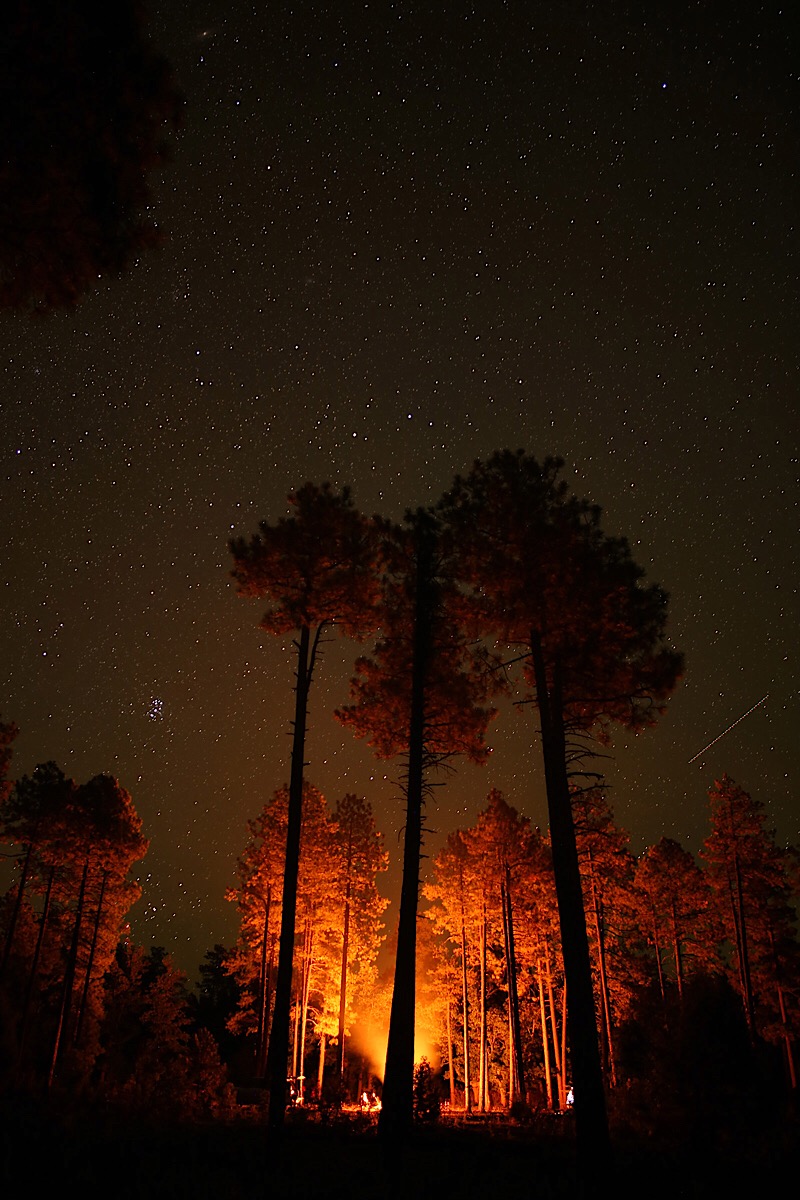
Capture nighttime scenery with these astrophotography tips

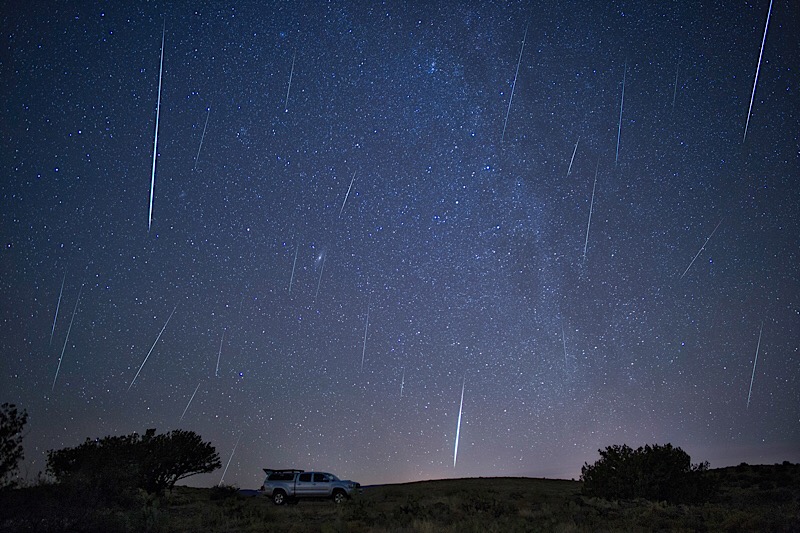
Anyone on social media these days has seen the uptick in those breathtaking nighttime photos featuring every star in the galaxy. While expensive modern photo gear definitely helps, there’s a surprising amount of effective photography that can be done with nearly any camera with manual controls. Known as Astrophotography, Nighttime Landscape Photography or Milky Way Photography. While they often have different subjects, most of the fundamentals are the same.

Photography of any kind is one of the most gear intensive activities one can enjoy. Fortunately, the barrier of entry to start taking photos in the dark is simply a camera and tripod. During daylight hours, a several year old smartphone can take a remarkably crisp, attractive photo. At the time of this writing, astrophotography still requires the use of cameras with larger lenses and sensors. Almost every camera produced in the last decade, both DSLR and point-and-shoot, has manual controls that will allow for star-filled photos.

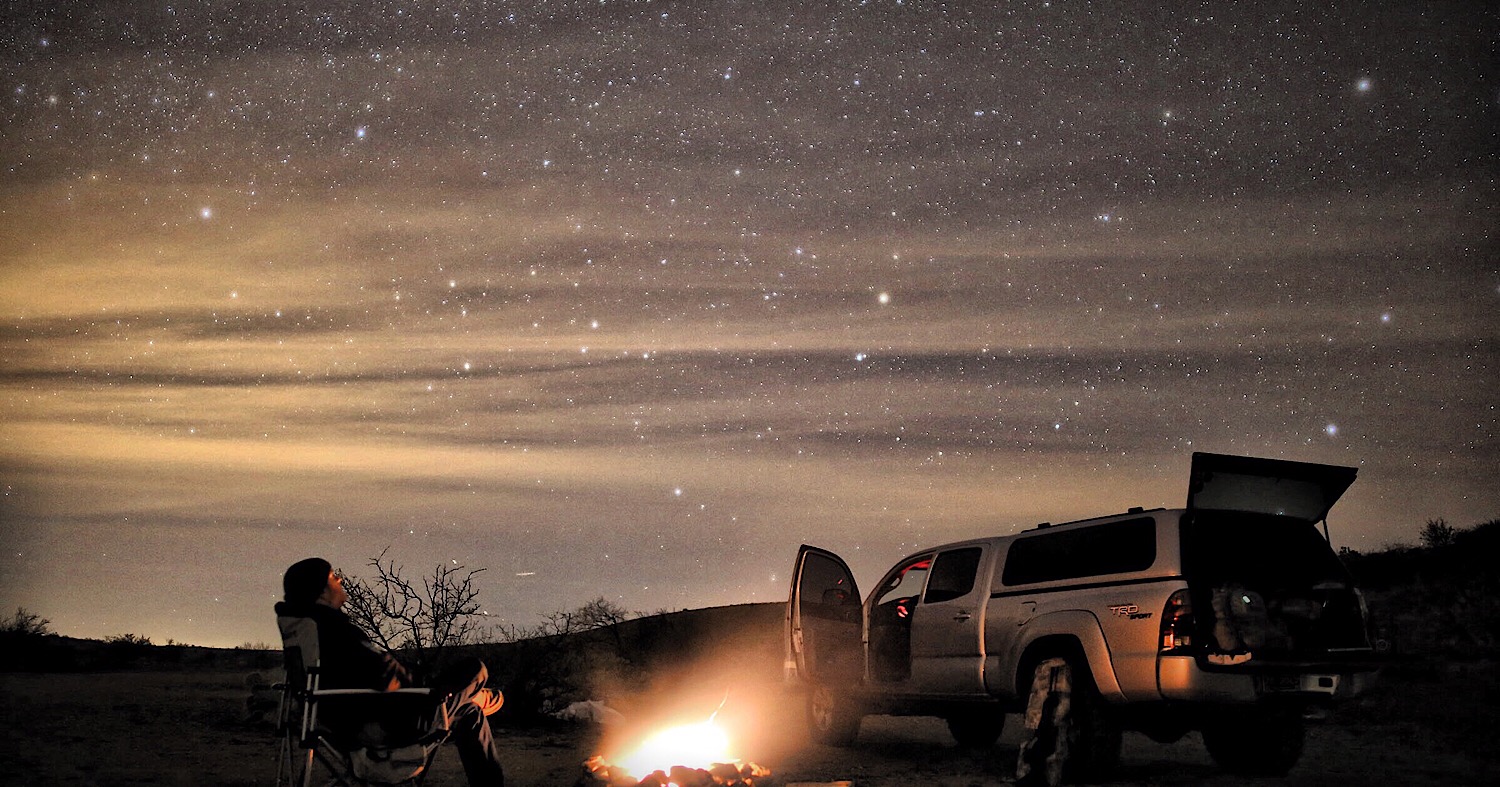
Taking a good photo in the dark requires one major compromise over daylight: Time. What your camera can collect in a tiny fraction of a second may take seconds, minutes, or hours. Which is why a tripod is necessary. A handheld 10 second exposure will look more like a Jackson Pollock than tonight’s campsite.
The main piece of equipment needed is obviously the camera. Shooting in the dark is actually a very difficult task for your gear, and as such, the newer and more sensitive, the better. It’s worth noting that in a number of ways, a current entry level DSLR can be better than pro level gear from a decade ago. But that’s true with nearly anything electronic.I first started shooting my nighttime campsites in 2004 with a first generation 6.3 megapixel Canon Rebel and the included 18-55mm kit lens. If I went above 1600 ISO, I’d start to get enough staticky noise that it looked like an art project. I found that a 15-20 second photo, taken at the widest focal length of 18mm, at f/3.5 (the most light collecting aperture setting that lens had) at 800 ISO would show me only the brightest stars that my night adjusted eyes could see. Yet I was thrilled. When I used a 50mm prime lens (prime = fixed at 50mm no zoom) that went to f/1.8, I could collect significantly more light, but I was now zoomed into a much more narrow photo.
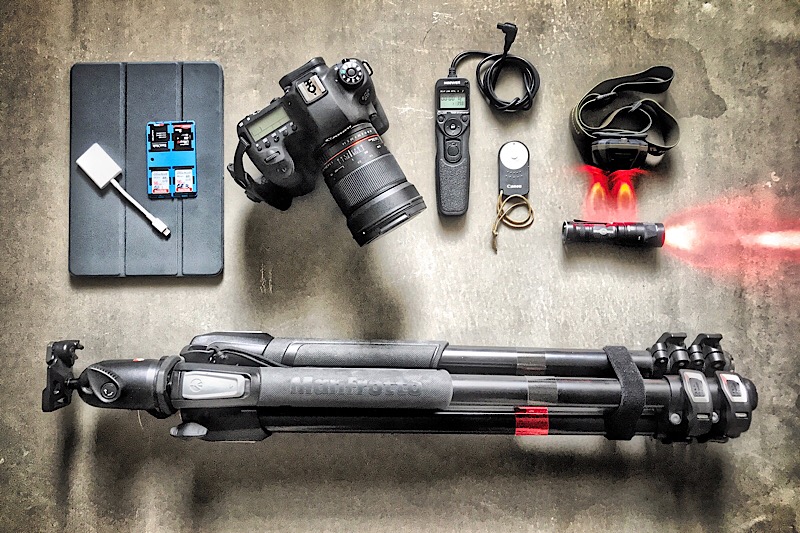
These days, I shoot with mostly a Canon 6D and a Rokinon 24mm f/1.4 manual lens. This lens has no autofocus, no image stabilization, and aperture is set via an old fashioned external ring. I’m not entirely sure my camera knows it even has a lens attached. While manual lenses have fewer features, they also have fewer individual internal lens elements. As it was explained to me, the more layers of glass a lens has, the more opportunity for the light to be altered, diminished, or corrupted. The first generation Canon 6D is new enough that it has incredible low light sensitivity, and an image sensor that goes up to an effective rating of 102,400 ISO. Where I used to be limited to 1600 ISO or less, I can now shoot all the way to 12,800 before I start to get noise in the photos. The end result is that I can capture light from stars that are too faint for even my night adjusted eyes to see. Many of my favorite shots are produced at 24mm, f/1.4, 8-15 seconds, at 3200-6400 ISO. These settings on this gear can bring a nighttime landscape to life in a way you’ve never imagined.
Other tips, tricks, and details that make will make your experience more successful.
- Wired and wireless external remotes are inexpensive and handy, but you can also shoot by setting the timer delay. That way the vibration and movement from touching the camera has a few seconds to settle before the shutter opens and photo begins.
- If your camera supports it, shoot in RAW, (CR2, NEF, ARW). JPEG/JPG is compact file type that doesn’t have nearly all the data your camera can collect. RAW file types contain many useful background details that can be brought into view during editing in Photoshop or Lightroom.
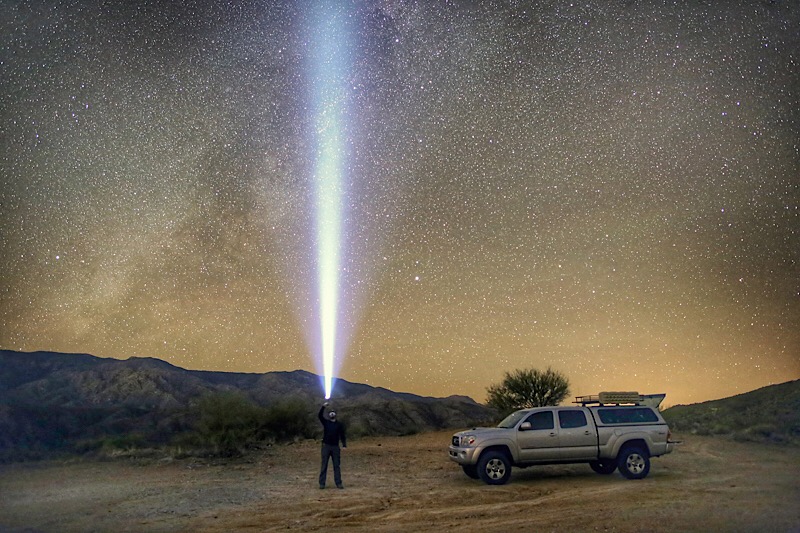
- Get a red colored headlamp. Your night adjusted eyes take 10-15 minutes to fully recover from a bright white light exposure from a normal flashlight. Red light doesn’t have nearly the disruptive effect.

Finally, on your first few trips, make the time to take hundreds of pictures with as many variations of your settings as you can. Once you’ve purchased all of your gear, your only cost is time, and space on your memory cards. Find the limits of what your gear will do. Learn what settings produce the results you like most. Once you learn what works, you’ll be able to get the shots you want pretty easily. Though I still end up shooting a couple hundred shots per trip.
OutdoorX4 Magazine – Promoting responsible vehicle-based adventure travel and outdoors adventure