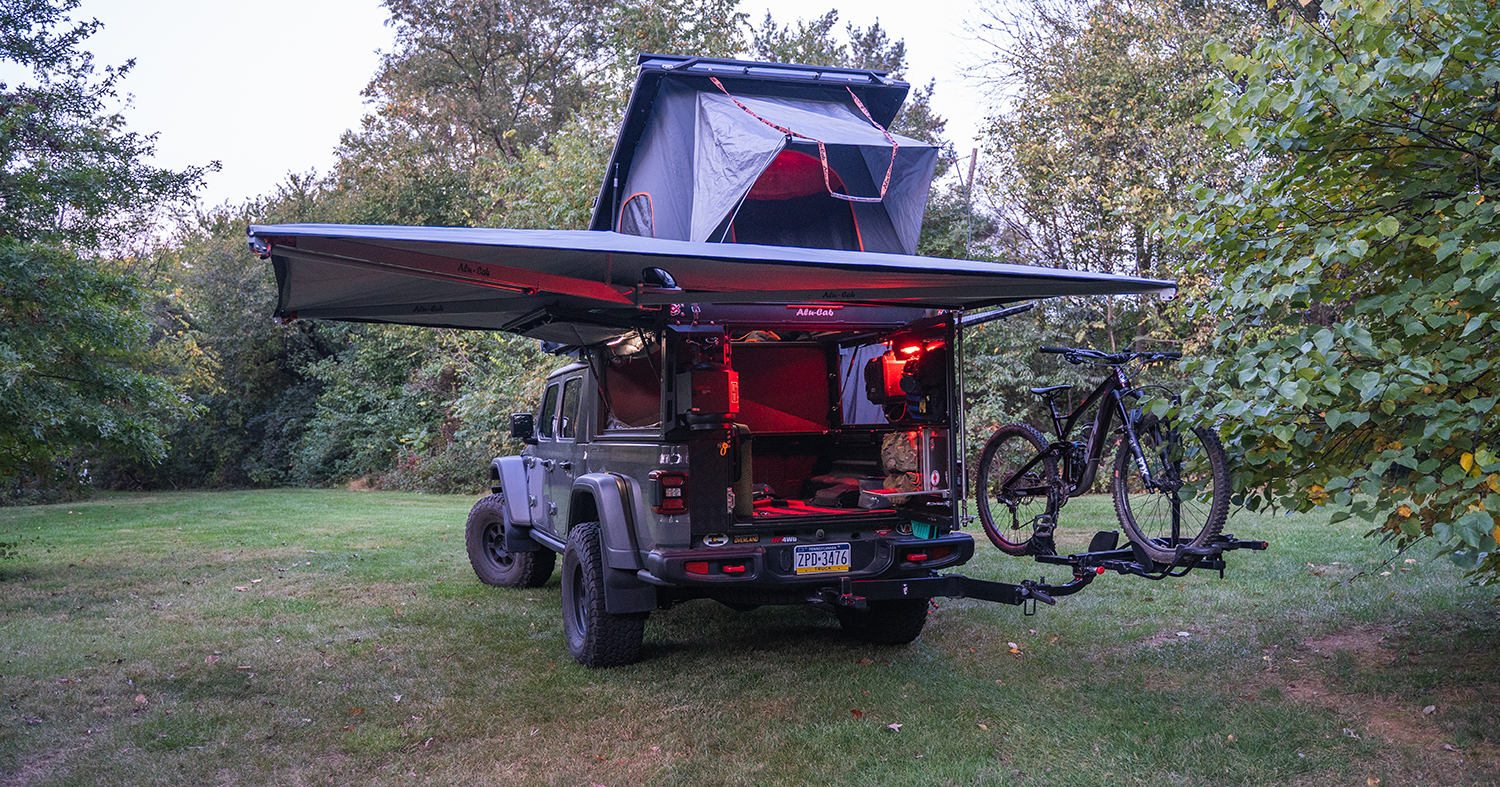
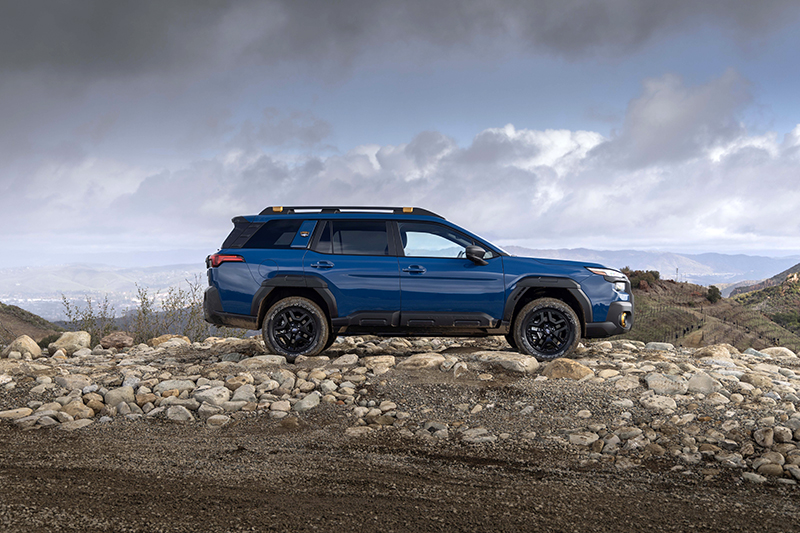
The GP-Factor Jeep Gladiator is a truck built for overland and outdoors adventure
The Jeep Gladiator is the first rig I have purchased for which I had laid out a full plan for upgrades and overlanding gear. I knew from the start that this vehicle would need to be fully capable off road, like my other Jeeps, and comfortable to live in for 5-plus days at a time. Though it might seem simple to build an overlanding rig (put a lift on it, add some tires, a winch, rack, tent, and you’re good) there’s a lot more that goes into it, especially when you want to enhance the self-sufficiency component by adding a camper.
Mechanical / Suspension / Body
Factory Options: The beauty of the new Jeep Gladiator (JT) Rubicon is what is included from the factory. Like all Jeep Rubicons, the JT Rubicon comes equipped with Dana 44 front and rear axles and electronic front and rear differential lockers. The JT Rubicon also comes with higher fender flares than the sport or overland models, providing clearance for larger tires. So if you plan to put on 37” tires these options make the Rubicon well worth the cost.
Choosing a lift kit was not difficult. I wanted quality that would last, with spring rates to handle the camper in the back, and decided to go with the Clayton Offroad Overland Plus 2.5” / 3.5” lift with a set of Teraflex Falcon 3.3 adjustable shocks. I only needed 2.5 inches of lift to properly run 37” BFG tires in the front, but chose to use the 3.5” springs in the rear to handle the load of the camper. Since the JTs are so new, many companies have not released true HD coil springs for them yet. I will change these if Clayton releases HD springs. The super beefy, adjustable control arms and track bars included with the kit provide another advantage. They can definitely take a hit on gnarly trails. After having put approximately 6,000 miles on this kit, the springs and shocks have settled in nicely together and it’s a great ride. The adjustability of the shocks allows me to modify the ride quality for a loaded multi-day trip, or for running empty as a daily driver.
Gears: Since you can’t post pictures on Instagram of your regearing, it’s one of the less thrilling upgrades, but it is the most valuable mechanical upgrade I have done thus far. I chose to change the included Rubicon 4.10 gears to 4.88. Although the 8-speed transmission does a good job of compensating for larger tires, weight, etc., it became apparent that the 4.10 gears would not handle the full camper weight and 37” tires. After regearing to 4.88, it’s back to driving like it did off the lot. I am very happy with the gear choice, improvement in gas mileage and overall drive quality of the new gears. If you are on the fence, just do it, but make sure it’s done by a reputable off-road shop like OK4WD, who did an excellent job on all of these upgrades.
Wheels and Tires: There weren’t many technical decisions that went into my wheel choice. I just wanted something that looks great, works well, and would hold a bead when aired down. I chose to go with the Method 701 wheels. So far they have been great. When it came to tires, there was only one choice that made sense to me: the BF Goodrich K02 all-terrain tire which is, in my opinion, the best all-terrain tire on the market. These tires are quiet, durable and handle great in snow, rain, etc. There may be a better tire for full off-road, but between daily driving and long distance road trips, this truck is on pavement quite a bit. I knew the K02 was a great choice since I had had these 33” tires on my 4-Runner. It’s no surprise that they prove just as great in a 37” size.
Front Bumper: I wanted a full-width bumper with adequate light mounts and a drop-in winch location that would not require purchasing a winch-mounting plate. The ARB Classic Deluxe bumper was an easy choice. This bumper allowed me to run ARB intensity V2 lights, my factory fog lights, and the Warn Zeon 10-S winch with no modification or custom fitting.
Overland – Camper Build-out
Camper : The Alu-Cab Canopy Camper was the first and only choice. I wanted a camper that allowed for a fair amount of DIY set-up and was not super heavy so that airbags were not needed for the rear suspension. The Canopy Camper is built for and by people who actually use the product. The rear tailgate is convenient and easy to use. You don’t climb over a tailgate to get into this camper, you walk into it. The Camper is also equipped with Alucab’s 270-degree shadow awning and shower cube.
The rear tailgate of the camper is fully equipped with GP Factor’s low-profile stainless table and molle panels, both of which were built with the Canopy Camper in mind, making them ideal upgrades for that rear tailgate. On the back side of the tailgate, I chose to run the GP Factor universal traction board latches for easy access to my Maxtrax. I am currently using the Expedition Essentials propane tank mount with an 11-lb. propane tank. This will provide me with the fuel needed for a Partner Steel stove and Dickinson fireplace heater.
On the inside of the back wall, I have a custom Goose Gear electric panel that I built out. The Goose Gear board comes blank so you can customize it. This panel is where I have a Victron Solar controller, circuit breakers, light and other power switches, USB ports, and battery monitor.
On the other side of the back wall is a Dickinson P9000 fireplace with GP Factor fitment (chimney and wall mount) kit. This fireplace is meant for a sailboat originally; GP Factor worked with Alu-Cab USA to make a kit so this wonderful heater could work with Canopy Campers.
I am currently running a Goose Gear floor in the camper with full intentions of adding the Goose Gear storage cabinets to the sides as well. The Goose Gear Floor is fully Line-Xed for durability, a highly recommended upgrade.
I have had multiple ARB refrigerators in the past and they have always worked well. When the ARB Classic 2 47L came out a little over a year ago, I upgraded right away. Though it doesn’t have any bells and whistles, it does exactly what I need it to do. I did, however, add a strut so the door can stay open when loading it up.
Power and Lighting
Lighting : This was my vehicle’s most basic upgrade. I wanted a clean look, while still being practical and functional. I chose to run the ARB Intensity V2 LED lights: one spot and one flood variant. These lights are mounted as far forward as possible for the most functional use and are very durable. Paired with the factory LED headlights and fogs, I have more than enough lighting for off-road driving. For lighting inside the camper, the Canopy Camper offers optional factory-installed LED lights throughout. These five lights are National Luna dual color (white and red) LED touch lights.
Power Management: Since this Jeep is so new, I waited to upgrade to a dual battery and kept the stock battery. Instead, I mounted two Sunflare Solar 126w solar panels to the roof of my camper for a total of 252 watts of possible solar power. This amount of solar power keeps the battery charged enough for my needs, powering my fridge 24/7, LED lights and charging devices. I have yet to have an issue with my battery in the nine months I have had these installed. These solar panels are made for hard use, withstanding moderate impact like tree branches, etc.
The rig was built for personal use, off-roading, camping, family trips, product development, and daily driving. So far, I couldn’t be more thrilled with how it has turned out. When it comes to building out a rig, keep in mind that you get what you pay for. Take your time, do your research, get parts that will last, and ask for advice if you need it. The overland community is full of amazing people who can help you as you build or add upgrades to your rig. Cheers and safe travels.
Resources:
GP Factor
www.gpfactor.com
OK4WD
www.ok4wd.com
Alu-Cab
www.alu-cab.com
Goose-Gear
www.goose-gear.com
ARB
www.arbusa.com
Clayton Off-road
www.claytonoffroad.com
MAXTRAX
www.maxtraxus.com
Sunflare Solar
www.sunflaresolar.com
OutdoorX4 Magazine – Promoting responsible vehicle-based adventure travel and outdoors adventure


