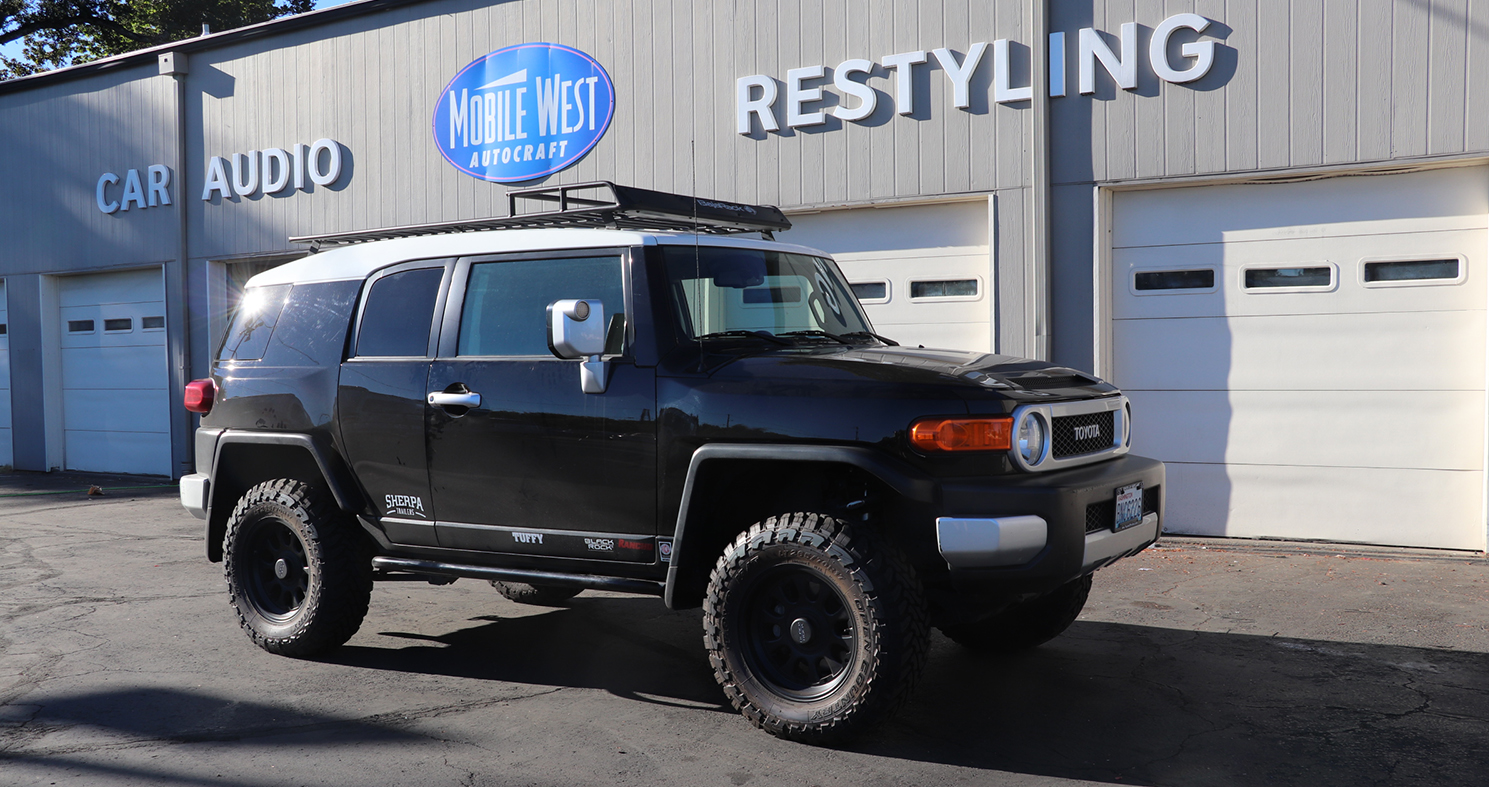
Upgrading the FJ Cruiser’s Sound System
Retro looks shouldn’t equate to less than stellar tunes, an FJ Cruiser drawback. Fortunately, Insane Audio makes in-dash multimedia and navigation products for the off-road market, built tough to withstand the rigors off the grid. OEM Audio Plus also creates vehicle-specific subwoofer systems designed from the ground up for each application. We decided to put them both to the test to see how much the factory Toyota sound system could be improved.
Insane Audio’s FJ1002 is designed for 2007-2014 Toyota FJ Cruisers. Everything needed is in the box, along with a plug and play wiring harness.  The head unit fits in the dash, and connects to the OE wiring. Insane NavEngine, high def 3D navigation software with full topography, off-road trails and turn-by-turn directions, is built in. It has a MicroSD card slot to store music or movies. An iPod cable, USB inputs, Bluetooth phone and media streaming are included. The FJ1002 also allows you to view and clear check engine lights, and see OBD data.
While Insane makes their products easy to install with online installation instructions, we decided to add OEM Audio Plus’ 2007-2014 FJ Cruiser sound system. OEM Audio Plus offers reliable, seamless integration, and great sound quality. We had wanted OEM Audio Plus’ products for some time, and the Insane Audio head unit installation proved to be a good opportunity to do both simultaneously.
Just like the FJ1002, the OEM Audio Plus FJ-specific subwoofer system was designed specifically for FJ Cruisers. During development, an FJC was subjected to extensive acoustic measuring, using their six-microphone array. Since OEM Audio Plus optimizes their systems to work with factory radios and most aftermarket head units, we shipped them the Insane head unit to optimize this system with it.
OEM Audio Plus’ subwoofer system offers DIY, plug and play installation, with no splicing, drilling, cutting needed. This allows your factory warranty to remain intact. OEM automotive connectors are used for precise, reliable connectivity. They are also keyed so there’s no chance of installing them incorrectly.
The 1” soft dome tweeters enhance the clarity and detail of the music. Designed for the FJ Cruiser, they fit both physically and in providing great sound reproduction. They have built-in 6 dB/octave high pass filters, with neodymium magnets.
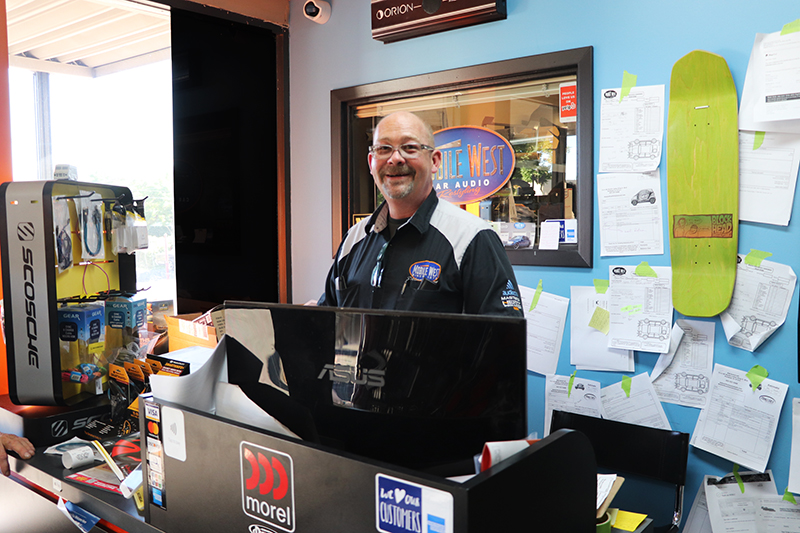 Although both OEM Audio Plus and Insane Audio claim you can do it yourself, one look at the complexity of the head unit’s wiring and that of the subwoofer system and the decision was made to call Portland, Oregon’s Mobile West. In speaking with Peter Clover, Mobile West’s owner, it was clear the right choice was made. It would take several hours and an experienced installer to upgrade the FJ Cruiser’s audio system. So let’s get started!
Insane Audio Head Unit Install
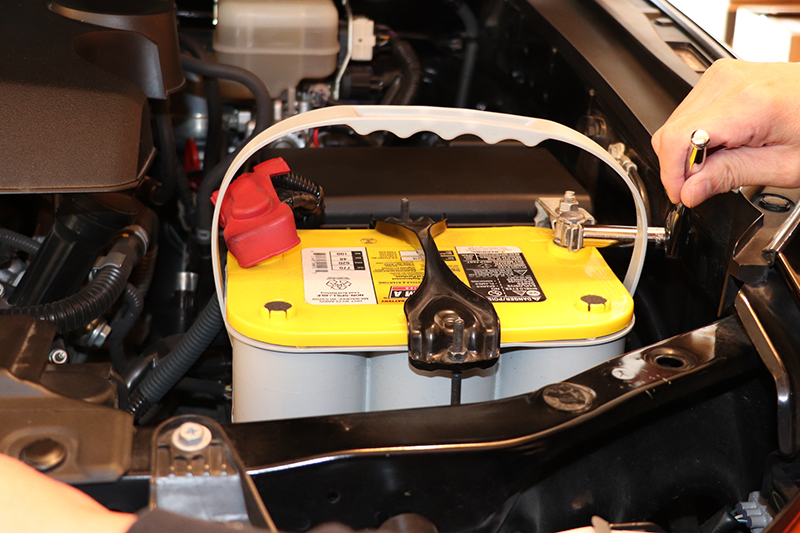
- When preparing to do the audio installation we found our OE battery was lacking. We decided to replace it with a Optima D35 Yellowtop battery, knowing we would have higher loads with all the aftermarket electronics, inverters and other accessories onboard. The D35 has 620 cold cranking amps and 98 minutes of reserve capacity at 25 amps. Once we changed the battery, we began by disconnecting the negative battery terminal. Remove the center panel side trim pieces from the radio with a #2 Phillips screwdriver.
- Gently pry the trim pieces from the bottom up with a panel tool, separating the locking tabs. With both trim pieces off, remove the Phillips screws on the center dash panel.
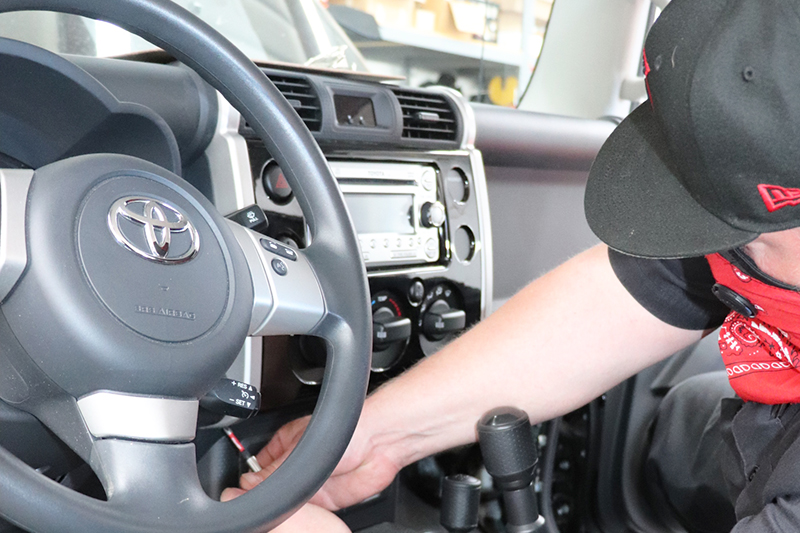
- Remove both side brackets from the radio with an 8mm socket, and bolt them to the FJ1002. All four bracket holes should line up perfectly. Loosely install the bolts, and then tighten. Pull the center panel down to access the radio. Remove the four bolts on the sides of the radio with a 10mm socket, and slide the radio out. Unplug the connectors and antenna lead.
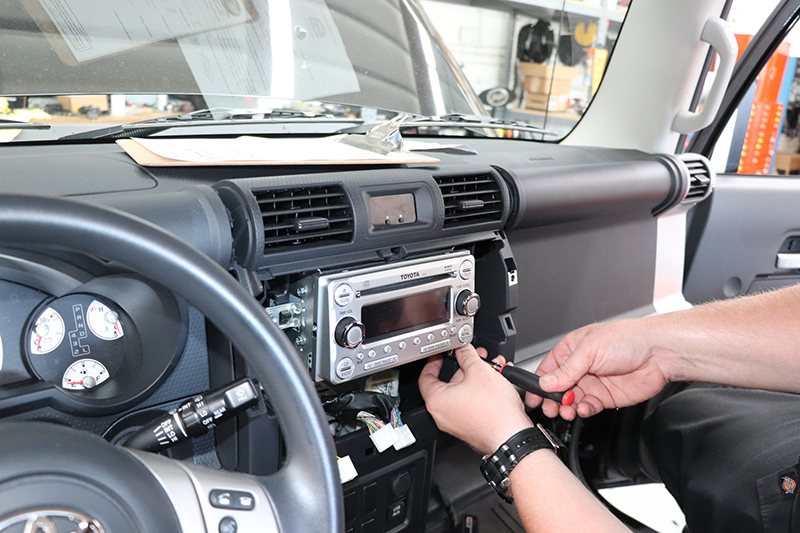
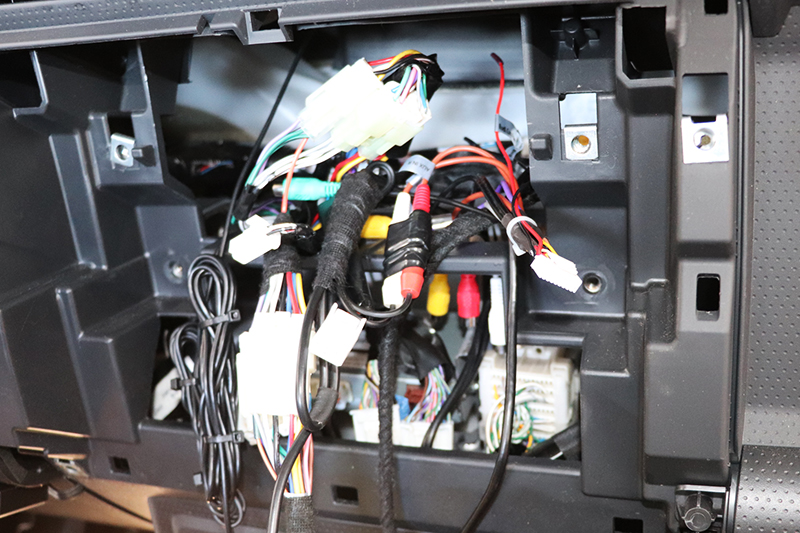
- Plug in the FJ1002’s supplied harness into the factory harness. Now install the microphone, iPod, USB and RCA harnesses, and the Wi-Fi and GPS Satellite antennas. The external mic plugs into 3.5mm headphone jack plug located to the left of the RCA pigtail.
 You can route the iPod and USB cables anywhere, although the glove box is the location Insane Audio advises.
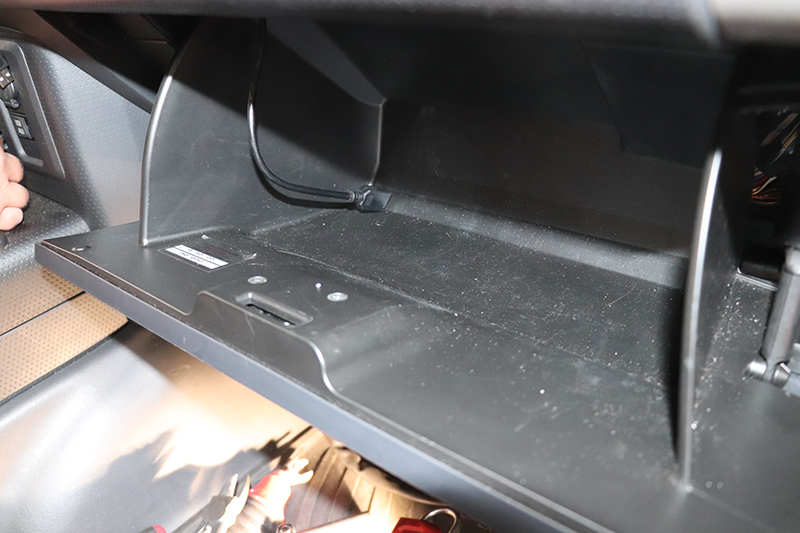
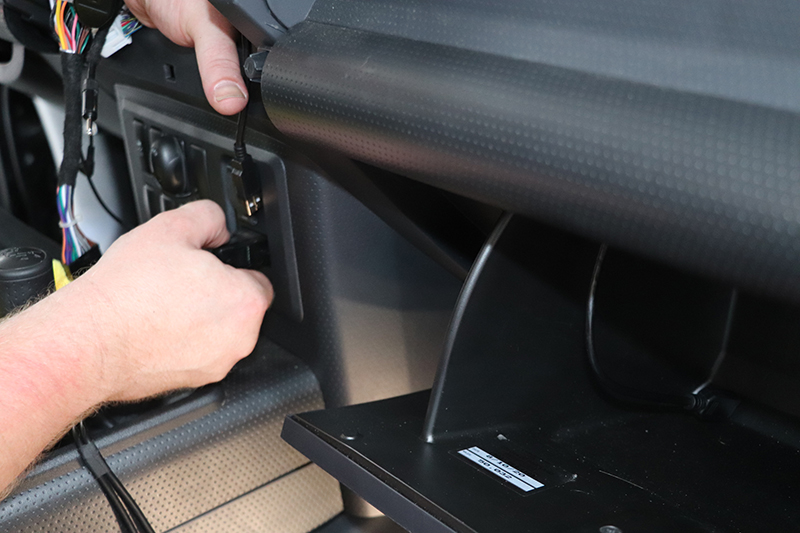
- The FJ1002 comes with a built-in Bluetooth mic, but an external microphone is also included. We routed our microphone to the switch panel, but you can mount yours wherever you like.
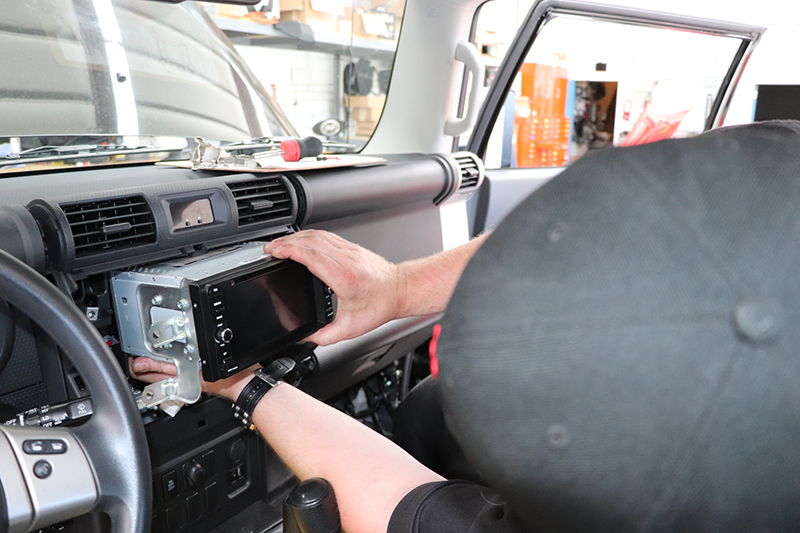
- Lift the FJ1002 into place. Plug the harnesses and antenna into the back of the unit.

- Slide the FJ1002 in, with the wiring behind and underneath. The brackets fit over the centering tabs near the top bracket bolt.
- Attach the battery cable, turn on the key, and boot it up to check the head unit. Verify your radio signal, then examine the iPod, USB, camera, and GPS functions.

- Now re-install the four bolts that hold the radio. Re-attach the center panel with the two screws you took out, pop the side trim into place and install the two lower screws.

Almost everything is customizable on the FJ1002. You can change icons, widgets, and backgrounds. It comes loaded with widgets that can be found by swiping to the far right of the main icon window, accessed from the six squares from the upper left hand corner of the home screen.
The Insane NavEngine is accessible by the icon or pressing the NAVI button. This will get you where you’re going on or off-road. The microSD card slot on the bottom right-hand side of the unit allows you to load a data card with movies or music and access that content using the VIDEO or MUSIC icons on your FJ1002.
The FJ1002’s solid-state design means a reliable, durable product, and a 1.6 GHz processor to keep things running smoothly. With millions of apps on the Web, you can download your favorites directly. Once the FJ1002 is installed, the Quick Start Guide, which can be found at www.insanejeepaudio.com/manuals, is very helpful.
There’s also an OBD Bluetooth adapter with the Torque application installed. Plug the adapter into your vehicle’s OBD port, connect it to the adapter’s Android settings, then Bluetooth, before you search for Devices. Click on the Torque icon and connect to the adapter. Refer to the Quick Start Guide for more instructions on setting up Torque for first time.
Installing the OEM Audio Plus Subwoofer System
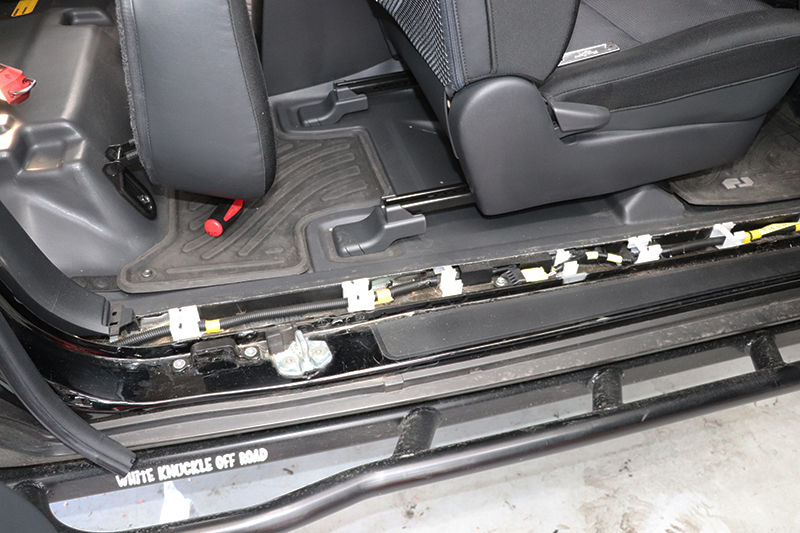
A. Run the gray sub connector through the cavity. This should be the same length as the black sub amplifier connector. Remove the glove box by disengaging the damper on the right. Squeeze the box sides, then pull down and out to remove. Remove the passenger kick panel by unscrewing the black locking tab and pulling it away. Remove the door threshold by pulling in an upward motion.
B. Run the other side of the sub umbilical with the white connector to the passenger side kick panel. Run the cable over the air filter and avoid binding along the way. Wire tie as needed. Continue to run the wire along the threshold. Lock the plastic clips after running the wire through, then reinstall the glove box.
Plug the OEM Audio Plus wiring harness connectors into the FJ1002. This should be done in conjunction with Step 8 above, before the head unit is installed in the dash.
Run the umbilical cable along the factory wiring. Using a pick tool, push away and lift the white wire caps. Continue to run the wire along the threshold. Lock the plastic clips after running the wire through. Now reinstall the glove box.
C. Remove the weather-stripping on the rear passenger door to access the side panel. Apply pressure to the panel by pushing towards the driver side to disengage the locking clips. The bottom clip may need a panel tool to disengage. You need just enough room to run the umbilical cable to the rear cargo tray opening.
D. Remove the passenger side panel in the cargo area, pulling towards the drivers side.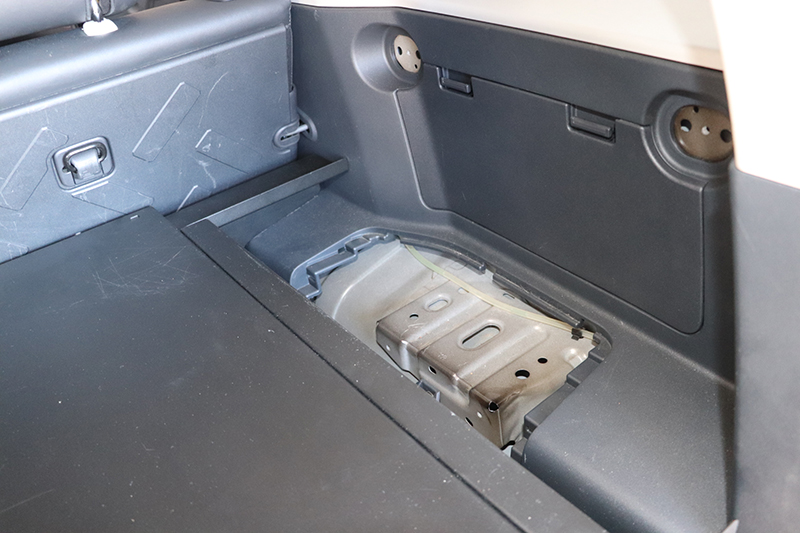
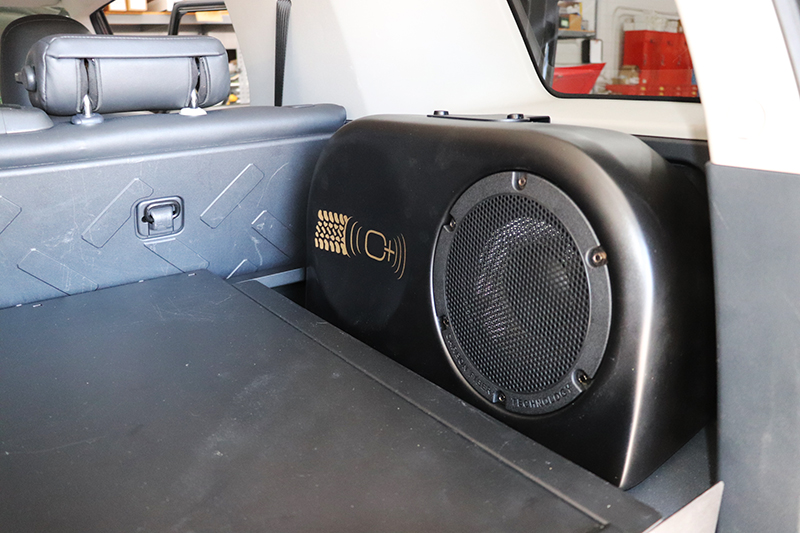
E. The subwoofer for the FJ installs in existing cargo area locations using a supplied bracket. 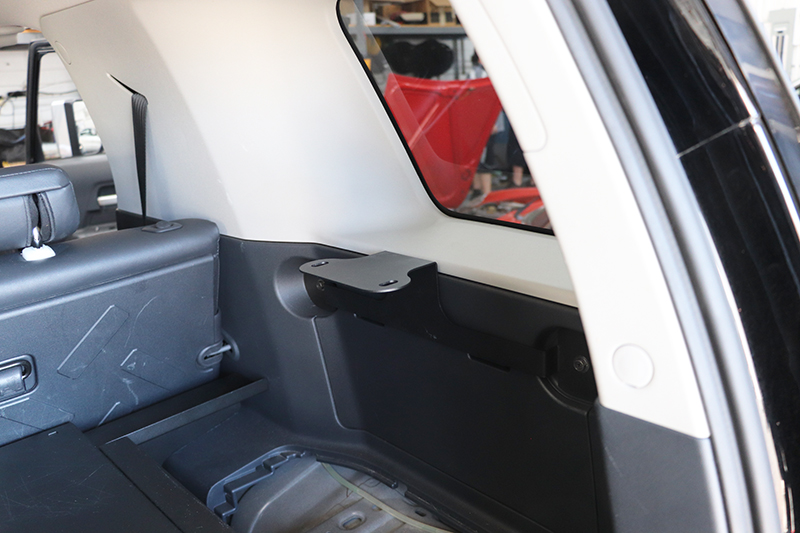
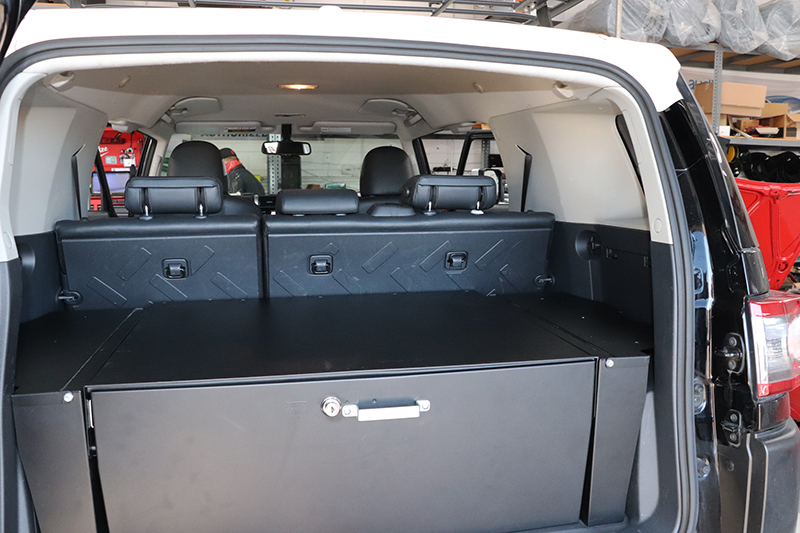
F. Our Tuffy Security Drawer made the OEM Audio Plus subwoofer installation a bit more challenging, having to work around the steel enclosure.
G. With the cargo tray off you can see where to run the umbilical wire. Run the wire as far as possible on top of the wheelwell. Reach from the cargo tray opening to pull the cable out. The connector should rest in the center of the opening with about 3” of slack. Reinstall the passenger rear side panel, weather-stripping, kick panel and threshold. 
H. OEM Audio Plus uses a 32-bit, 360-watt RMS Digital Signal Processing (DSP) power amp, for a neater installation and great sound reproduction the instant it’s on. 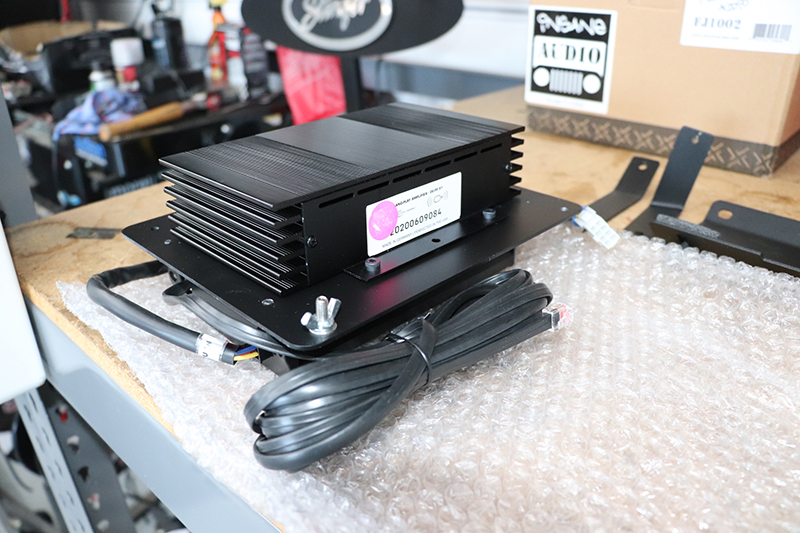
I. DSP allows clean sound to be achieved without a huge power amp. The amp is tucked neatly under the dash on the driver’s side, using the supplied bracket. 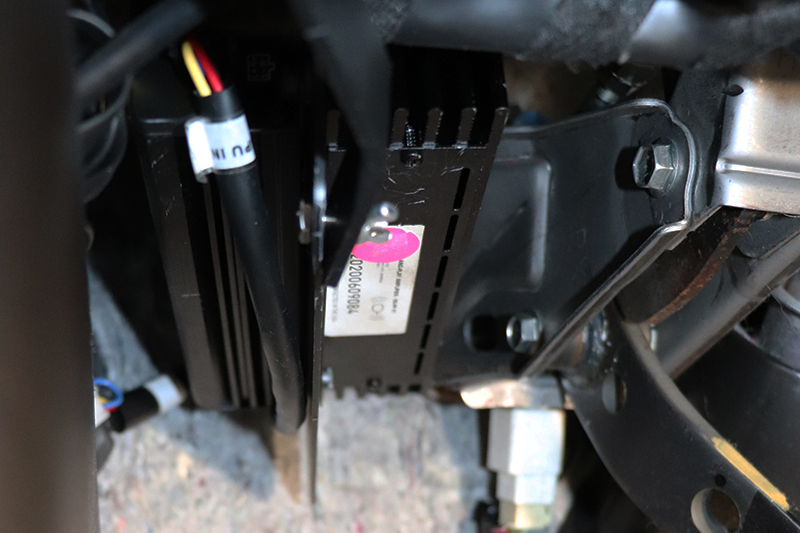
J. Removing the front door panels, the OE speakers are replaced.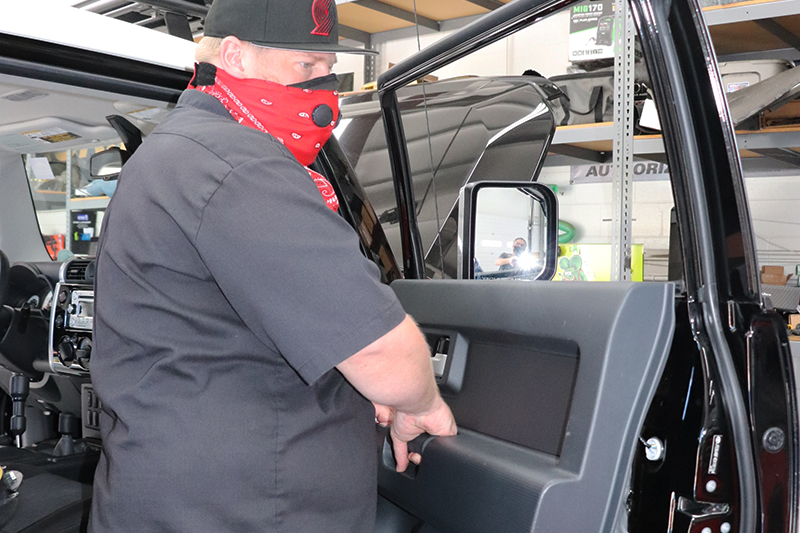
K. 6” X 9” front woofers yield bass sound without impeding vocals. They are a drop-in replacement for the OE speakers, using the same mounts and connectors. 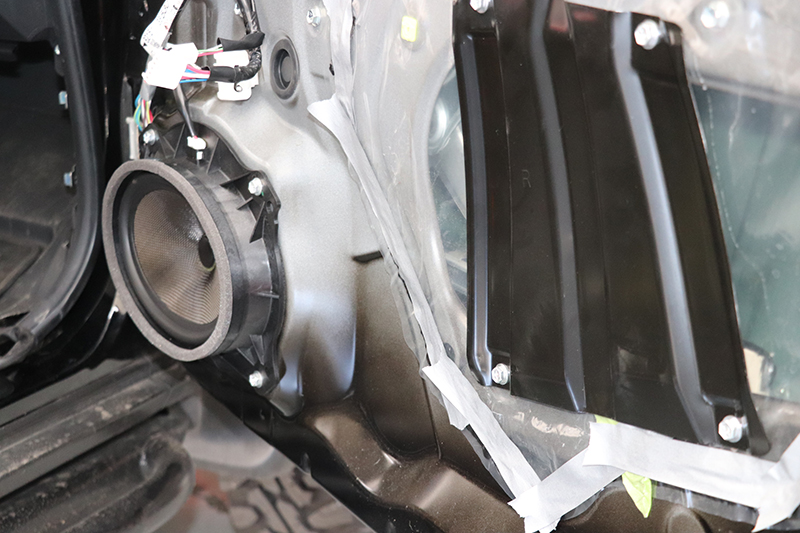
L. The tweeters, which are also drop in replacements for the OE units, complement the woofers, and are made of carbon fiber for optimal performance. 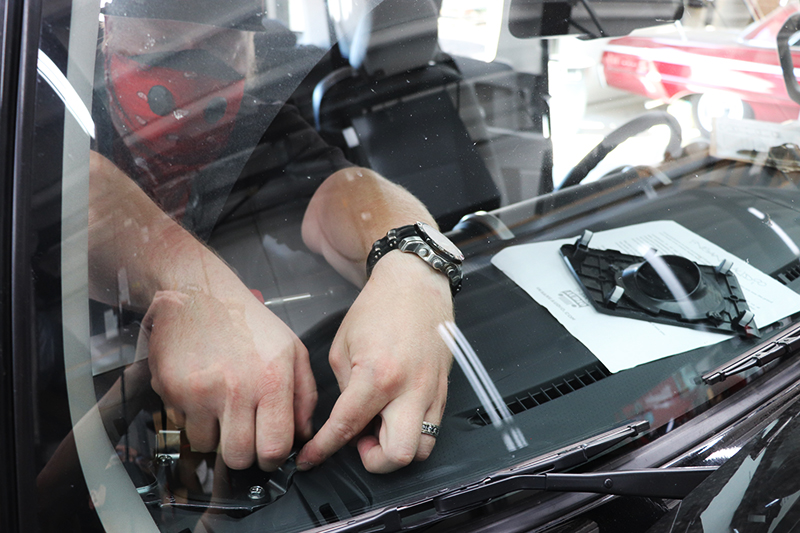
The 8” quad-voice carbon fiber woofer has 100W RMS, and 88.9 dB sensitivity. Frequency response is 20-1000 Hz, and the 14-liter sealed fiberglass enclosure weighs 11.3 pounds.Engineered to perform together rather than separately, OEM Audio Plus’ Reference 500 is truly a system. Through rigorous testing, it performed flawlessly.
SOURCES:
Insane Audio
www.insaneaudio.com
Mobile West
(503) 257-0488
sales@mobilewestpdx.com
OEM Audio Plus
(855) 636-6346
www.oemaudioplus.com
Optima Batteries
(888)867-8462
www.optimabatteries.com
Tuffy Security
(800) 348-8339
www.tuffyproducts.com
OutdoorX4 Magazine – Promoting responsible vehicle-based adventure travel and outdoors adventure