Adventure and nature photography tips and recommendations while overlanding and in the outdoors
Morning arrives clear and cool. I unzip the door of my roof top tent, poke my head outside, and in the dim light I see the faint outline of a rugged mountain ridge towering above a crystalline alpine lake. Up here, at almost 12,000 feet, the quiet is almost alarming. I quickly dress and climb down the ladder that delivers me from my truck-top abode to terra firma. A hillside flecked with colorful wildflowers beckons me. Yellow, red, pink and purple, the vivid colors would be obnoxious anywhere else. I find a small rock and sit on it, morning dew glistening in the green grass surrounding me. And then, sunrise. The mountains burn red with warm light, reflecting into the lake with surprising brilliance. I sit back and enjoy the birth of another new day.
Moments like this are what inspired me to pursue nature photography. I had been an avid hiker and backpacker for almost 10 years when I bought my first SLR in 1999. It took another two years before I was creating images that, well…didn’t entirely suck. I had no intention of becoming a professional photographer. I simply wanted to return home from an adventure and wow my friends and family with photos of the gorgeous landscapes I’d just visited.
In this article, I’ll share some of the best tips, techniques and advice that I’ve learned over the last 16 years as a nature and adventure photographer.
The Gear Dilemma
While it is true that gear does not make the photographer, it is also true that a photographer cannot make images without a camera. What camera you should use is largely dependent upon your ultimate output. If your goal is to make poster-sized prints, your iPhone won’t cut it. On the other hand, if you only share your photos online you probably don’t need a $50,000 medium format digital camera.
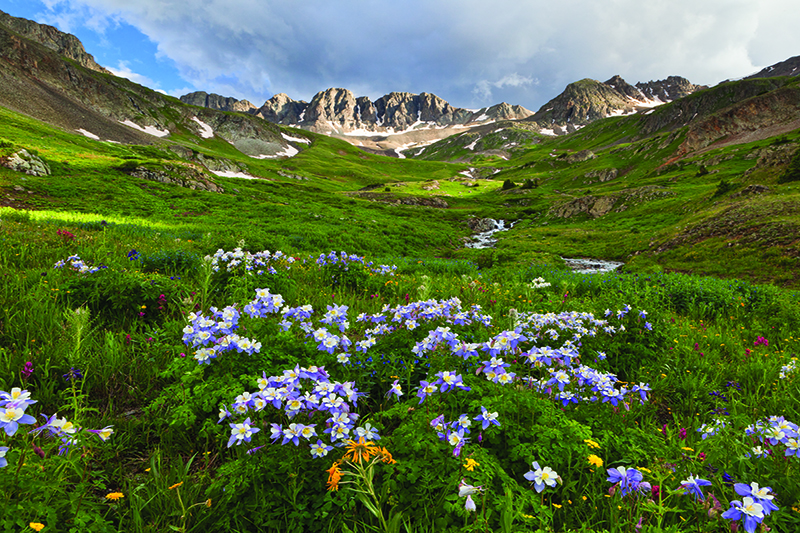
A wildflower garden of columbines, indian paintbrush, harebells and more bloom in verdant Amberican Basin outside Lake City, Colorado.
So, what is the perfect camera? It’s the camera you’ll enjoy using, that you’ll take with you on nearly any adventure and that is capable of producing the type of images you want to create. I need complete control over the photographic process and the ability to make large prints, so I use a camera with interchangeable lenses and a full-frame digital sensor. Currently, I’m using a Sony A7II with a full complement of Sony lenses ranging in focal length from 16mm to 200mm.
Here are a few things to consider as you shop for a new camera:
- Budget. It should be a four-letter word because we all cringe when we hear it. Unfortunately, we’re not all filthy rich and most of us have limited disposable income so the very first thing you should consider is how much money you’re able to spend on a camera. This will drive your purchasing decision. If your budget is less than $300 you should shop for a robust point and shoot camera with a lens that offers a wide range of focal lengths. I like the Sony — in the $500 – $700 range you’ll be able to find a DSLR or mirrorless interchangeable lens camera (keep reading to learn what this means) with one lens. The Sony a6000 is a remarkable mirrorless camera that costs about $700, including one lens. Budgets greater than $1,000 enjoy more flexibility in the type and quality of camera and lenses you’re able to purchase, but it is not necessary to spend thousands of dollars on camera equipment to produce gorgeous photographs. I have a print hanging in my Moab gallery that I made with a $300 point and shoot. I challenge you to visit the gallery and see if you can identify the print!
- It’s easy to geek out on camera equipment. In the previous paragraph I mentioned point and shoots, DSLRs and mirrorless interchangeable lens cameras. Let’s do a quick explanation of these three basic types of cameras.
- Point and Shoot – This term is used to describe virtually all cameras that are small enough to carry in a pocket and that do not have interchangeable lenses. The vast majority of them also do not have a viewfinder, meaning that you’ll have to compose your photographs on the rear LCD screen.
- Advantages: Small and lightweight, inexpensive, easy to use, some are water- and shock-proof, and most produce images of a high enough quality to share online or make small prints.
- Disadvantages: Photographer loses a lot of creative control, image quality suffers at higher ISO, limited dynamic range, lack of viewfinder can make it difficult to compose photos in bright sunlight, often don’t work well with moving subjects.
- DSLR (Digital Single Lens Reflex) – This is the camera most people think of when they imagine a camera used by a professional photographer. The camera and lens are two separate components, and a mirror inside the camera body projects the view into the viewfinder that you look through when composing a photograph.
- Advantages: Generally high image quality and dynamic range, ability to use different lenses and full manual settings, bright viewfinder makes it easy to compose photos in bright daylight, many find the larger size more ergonomically pleasing.
- Disadvantages: Bigger and heavier than point and shoots, usually more expensive, can be intimidating to new photographers.
- Mirrorless Interchangeable Lens Cameras – This is a relatively new breed of camera that offers many, if not all, of the DSLR functions within a smaller and lighter body. They lack the mirror of a DSLR, hence the name.
- Advantages: Generally high image quality and dynamic range, ability to use different lenses and full manual settings, electronic viewfinder allows for composition in bright sunlight, smaller and lighter than most DSLRs.
- Disadvantages: Some electronic viewfinders offer poor performance, can be expensive, might be intimidating to new photographers, exposed sensor collects more dirt.
- Let’s define a couple of the common terms you’ll see when researching digital cameras:
- ISO – This is analogous to film speed. In essence, ISO determines the sensor’s sensitivity to light. Higher ISOs collect more light but may also show artifacts such as noise. Lower ISOs collect less light but usually offer better image detail with fewer artifacts.
- Dynamic Range – Think of this as contrast, or the range of tones between highlights and shadows. High dynamic range scenes will have dark shadows and bright highlights, and point and shoot cameras record fewer of these tones. These scenes are common at sunrise and sunset, when clouds in the sky are much brighter than the landscape below.
- How will you use the images from your camera? If you only plan to post them online so your friends and family can share in your adventures, a point and shoot or even a camera phone is a great choice. You can even make small prints from these cameras. However, if you want more creative control or the ability to make larger prints, you should look at a DSLR or mirrorless camera.
- How will you use your camera? Will you be hiking or backpacking long distances with it, or will it primarily live in your vehicle? If you plan to do arduous hikes with your camera gear on your back you might want to consider building a kit that includes a smaller and lighter camera system. Conversely, if your camera will be primarily used to document your vehicle-based adventures, size and weight are less of a concern.
Once you’ve decided which camera best fits your needs, you’ll need to figure out how to carry it. There are a myriad of ways to pack camera equipment for various types of adventures. For overland travel, a padded, soft-sided case protects your gear while allowing easy access to it. Another option, which is waterproof and offers even more protection, is a Pelican case. These hard-sided cases contain foam blocks on the inside that can be custom cut to fit your gear.
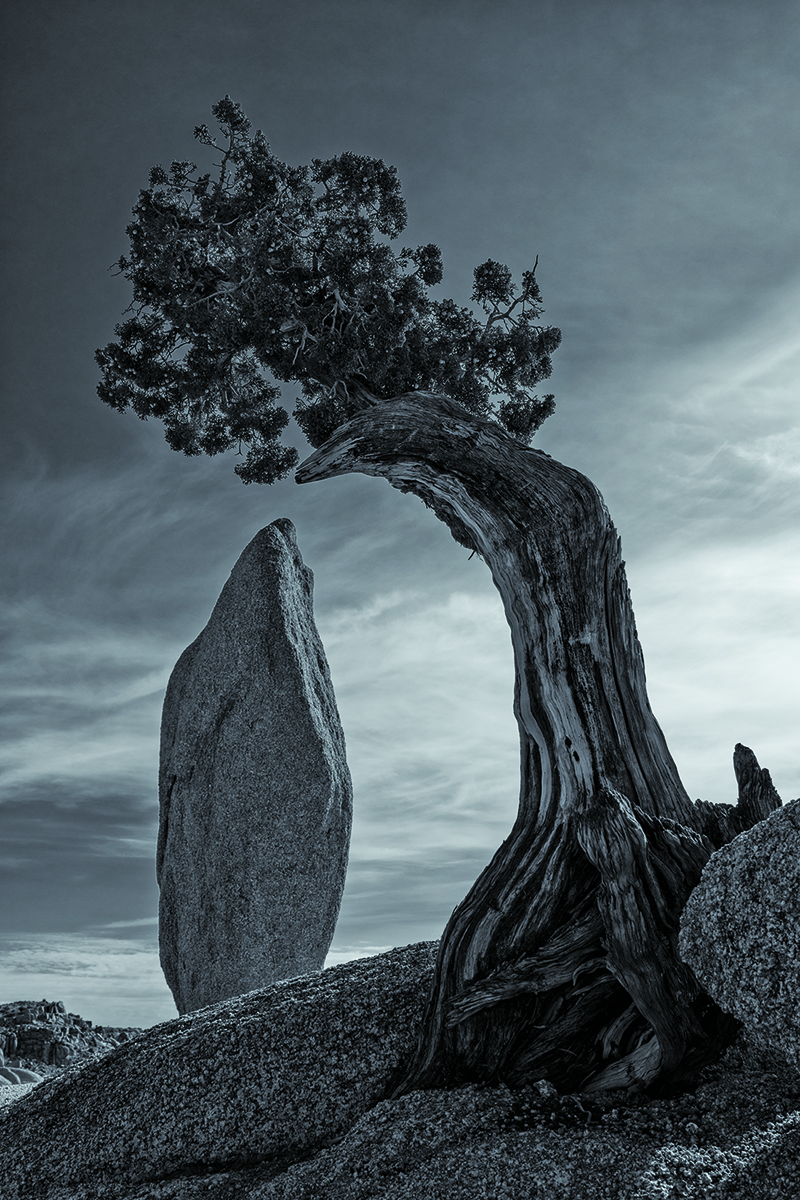
A juniper tree arcs gracefully over a precariously standing granite boulder in the Jumbo Rocks area of Joshua Tree National Park, California.
If you plan on spending any time at all hiking with your camera equipment you’ll need a good, quality backpack. Some people use a regular backpack and adapt it to carry their camera gear but there are better options available. I use an f-stop gear Tilopa BC backpack, which is designed from the ground up for outdoor photographers. A padded Internal Camera Unit holds your gear, which is accessed by unzipping the back panel, providing quick access and a secure way to carry your equipment. A few other brands that make great backpacks for photographers are Clik Elite, Lowepro and Mountainsmith.
Perhaps the single most important piece of equipment for outdoor photography is a good, stable tripod and ballhead. Most landscape photographers prefer to shoot at sunrise and sunset, when the light is warm and low, which adds texture and nicely saturated colors to your images. During these times it is not uncommon to work with shutter speeds that are too long to allow for sharp handheld photos. A quality tripod is necessary at these times. I use an Induro CT213 as my main tripod with an Acratech GP ballhead mounted on top. This combination has worked well for me for several years and neither piece of equipment has ever failed me.
Another benefit of using a tripod is that they force you to slow down and work in a more methodical manner rather than running around from one spot to the next making hundreds of average images. As I often tell my workshop participants, wouldn’t you rather go home with one outstanding photograph than a hundred okay ones?
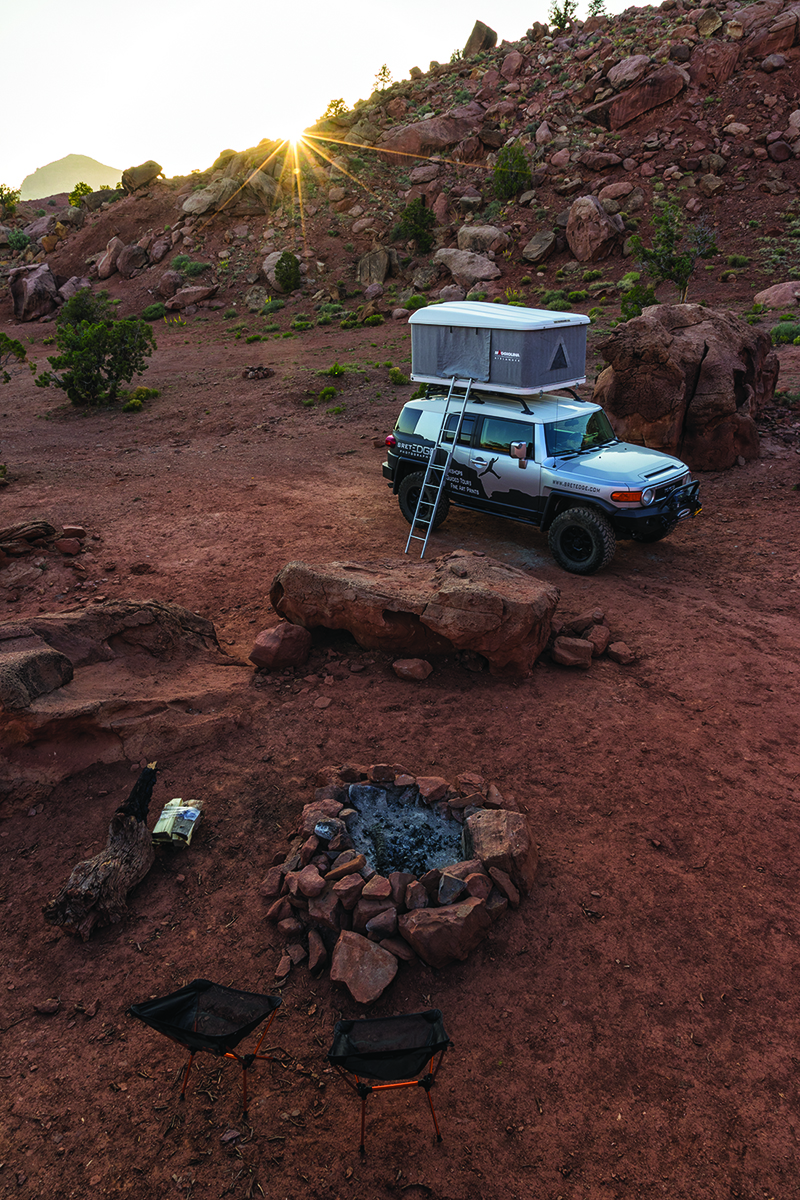
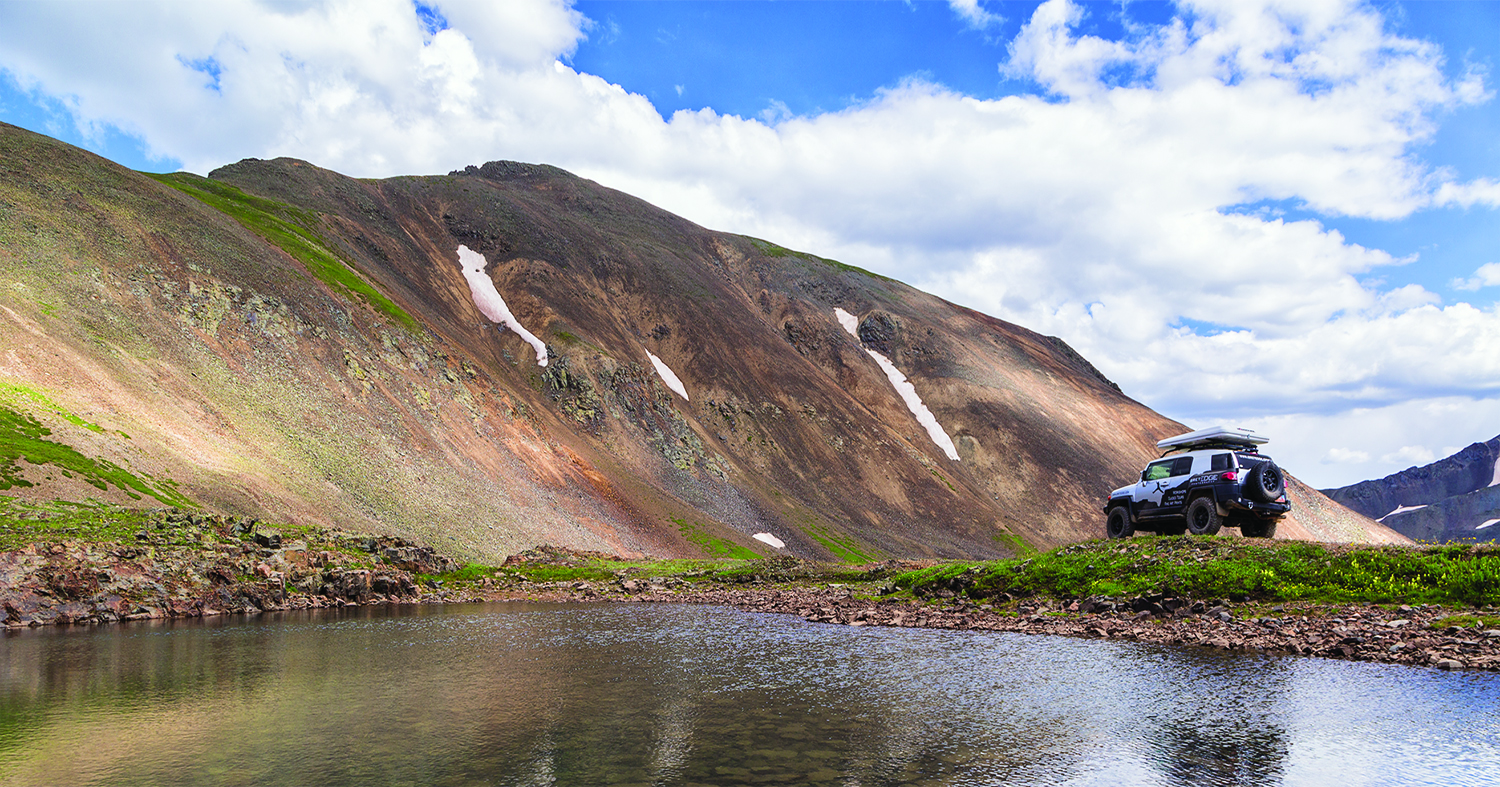
A Toyota FJ Cruiser with a Maggiolina Airlander roof top tent at campsite near Capitol Reef National Park, Utah.
Finally, there are a few accessories you’ll need to get the most out of your digital camera. Obviously, you have to have a memory card on which to save your images in-camera. All memory cards are not equal. If you’re planning to photograph a lot of wildlife or action, you’ll need a memory card that can keep up with the quick bursts you’ll be shooting. Look for a memory card that has a high write speed, i.e. 60 mb/s (megabytes per second). These cards also work well for recording video.
A microfiber cleaning cloth is useful for keeping lens glass clean. I use and swear by a remote shutter release, which plugs into the camera and allows you to trigger the shutter without touching the camera. Some cameras are also compatible with wireless shutter releases. I keep an inexpensive rain cover in my pack, which is handy when you’re shooting in a wet environment (i.e. around a waterfall) or even when it is raining. Most cameras are fairly weather resistant but I don’t recommend tempting fate!
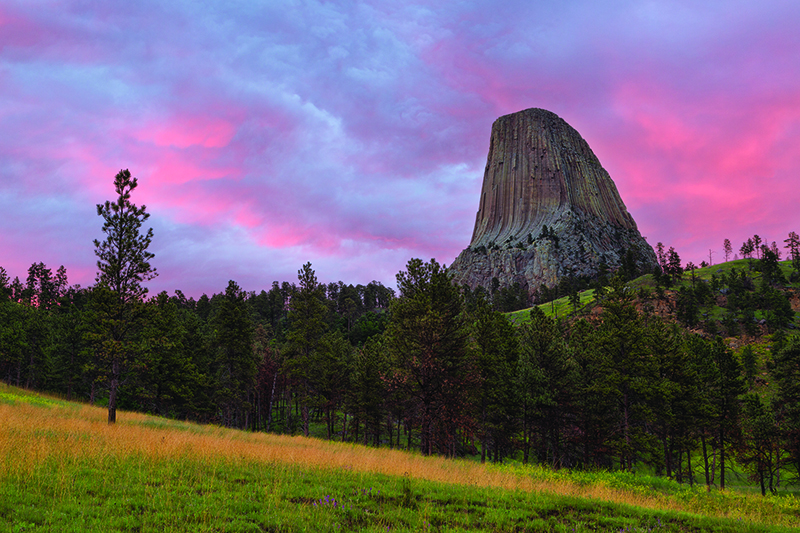
Clouds above Devil’s Tower turn pink at sunrise at Devils Tower National Monument in Wyoming.
I’d like to leave you with one last thought: I’ve heard the phrase “the best camera is the one you have with you” many times and in the end, it’s really quite true. If the only camera you’ve got is on your cell phone, and something magical is happening right in front of you, use what you’ve got and make the best of it!
About Bret Edge
Bret Edge is a professional landscape and adventure photographer living in the high desert paradise of Moab, Utah with his wife, Melissa, their son Jackson, and two All-Terrain Pugs. Bret leads private and group photography workshops throughout the Rocky Mountain region and sells fine art prints through his Moab studio, The Edge Gallery. His images have been used in dozens of magazines, books and tourist publications.
When he doesn’t have a camera glued to his face he’s probably road tripping with his family, mountain biking, hiking, working on his flip flop tan or looking for an excuse to sleep in.
Bret’s portfolio is available online at www.bretedge.com and you can learn more about his workshops at www.moabphotoworkshops.com.
Editor’s Note: This multi-part series was originally published starting with Issue 10 of OutdoorX4 Magazine. Several of the cameras and products noted have updated since original publication. Visit the appropriate manufacturer’s website to find the latest version of the products noted. You can also read Parts 2 and 3 of this series by visiting the following links:
Documenting Your Adventure – Part II
Documenting Your Adventure – Part III
OutdoorX4 Magazine – Promoting responsible vehicle-based adventure travel and outdoors adventure


